comments 15

What to do with Quinoa

IMG_1926
Quinoa has well and truly caught on, hasn’t it? It’s in every supermarket, on the menu at every cafe; it’s even in chocolate. I started cooking quinoa several years ago when it was still a food for fringe-dwellers, but apart from trying two or three recipes, I didn’t really know what to do with it.  Although quinoa has a nutty flavour and interesting texture, I was more comfortable with the flavour and versatility of my staple grain, brown rice. Despite the impressive nutritional profile of quinoa, most packets I bought were dipped into once or twice before gathering dust at the back of the pantry.

I have an annoying tendency to do this, to enthusiastically purchase interesting new ingredients then forget about them until they are past their expiry date. Dried seaweed, anchovies, buckwheat flour, raspberry vinegar – all purchases made in the spirit of experimentation that languished and eventually mouldered. I’ve realised that if I can’t find several ways to cook such ingredients easily, quickly, without a recipe (ideally), and still taste delicious, then I’m better off just ordering them at restaurants. It is true that I have some way to go to conquer my wasteful ways, but happily, quinoa at least has reached the status of “staple food”.

IMG_1937

Two things prompted this. First, I discovered that that my beloved brown rice is most likely laced with arsenic so I was motivated to find a replacement. (How disappointing then that I subsequently learned that some activists are calling a halt to quinoa consumption amidst fears that its production contributes to malnutrition in Bolivia. Which is worse: poisoning myself, or starving others? Now I look for Australian quinoa, just to be safe.) The second happening was that Penny came for dinner.

IMG_1941

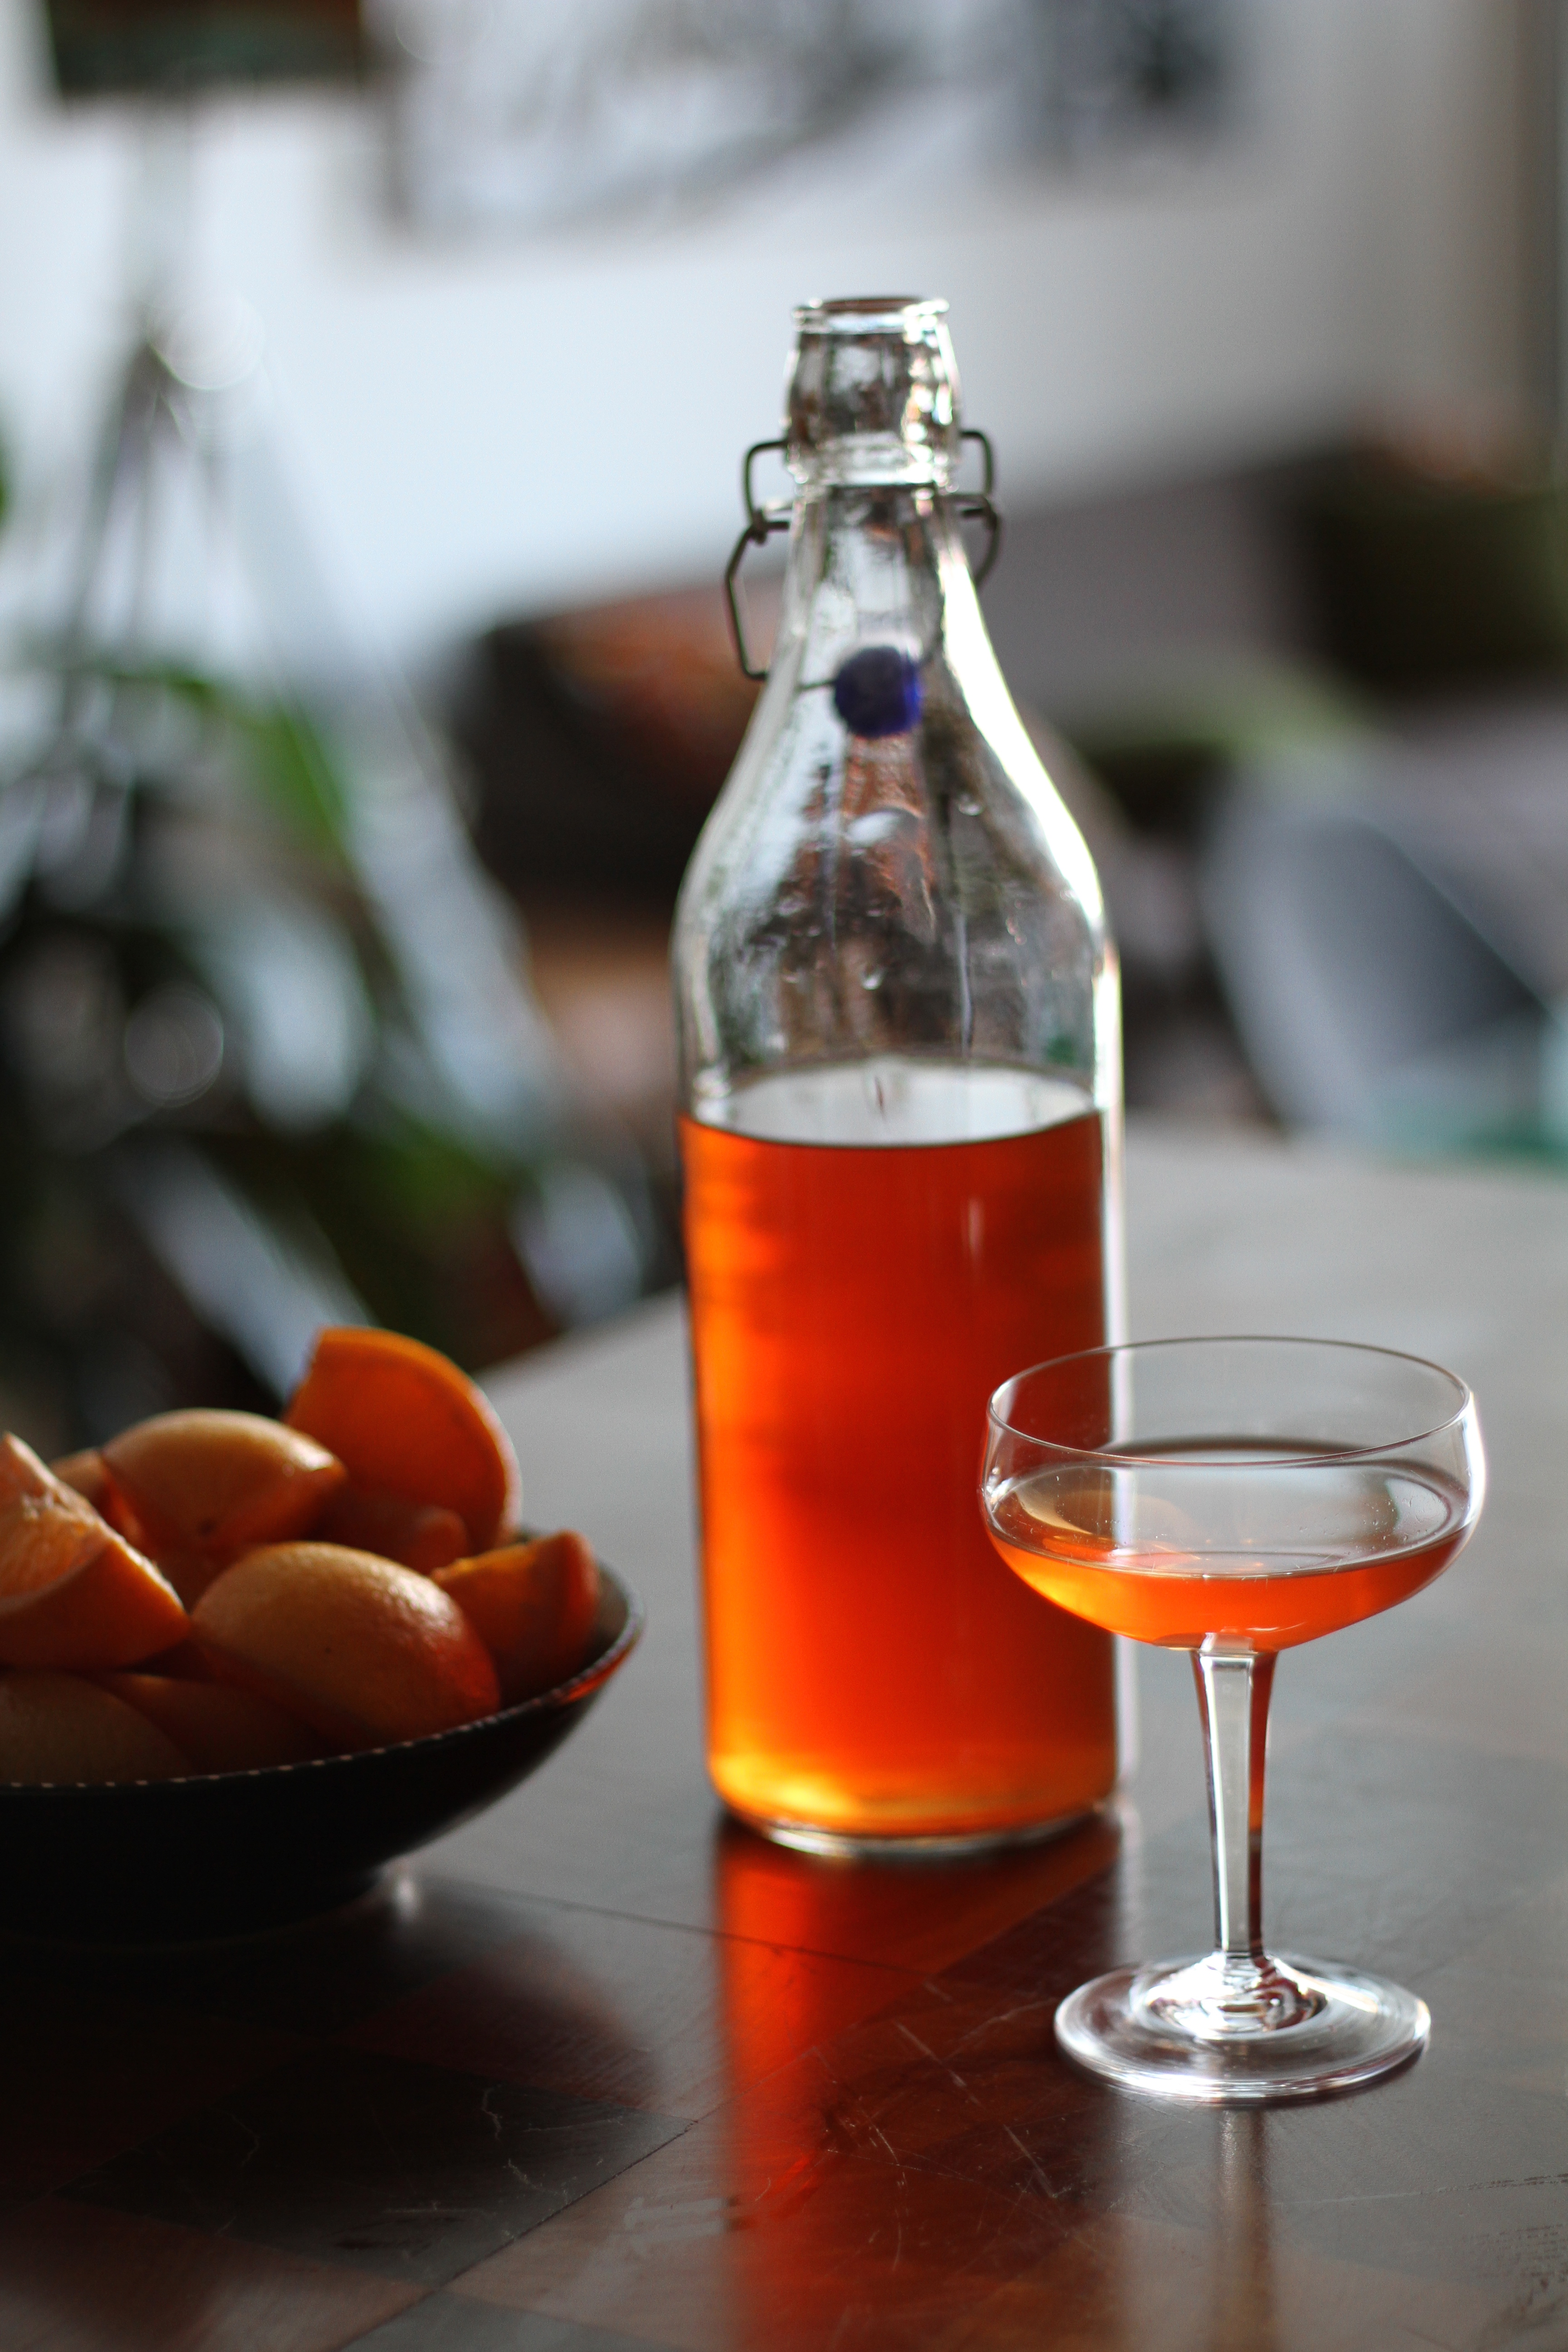
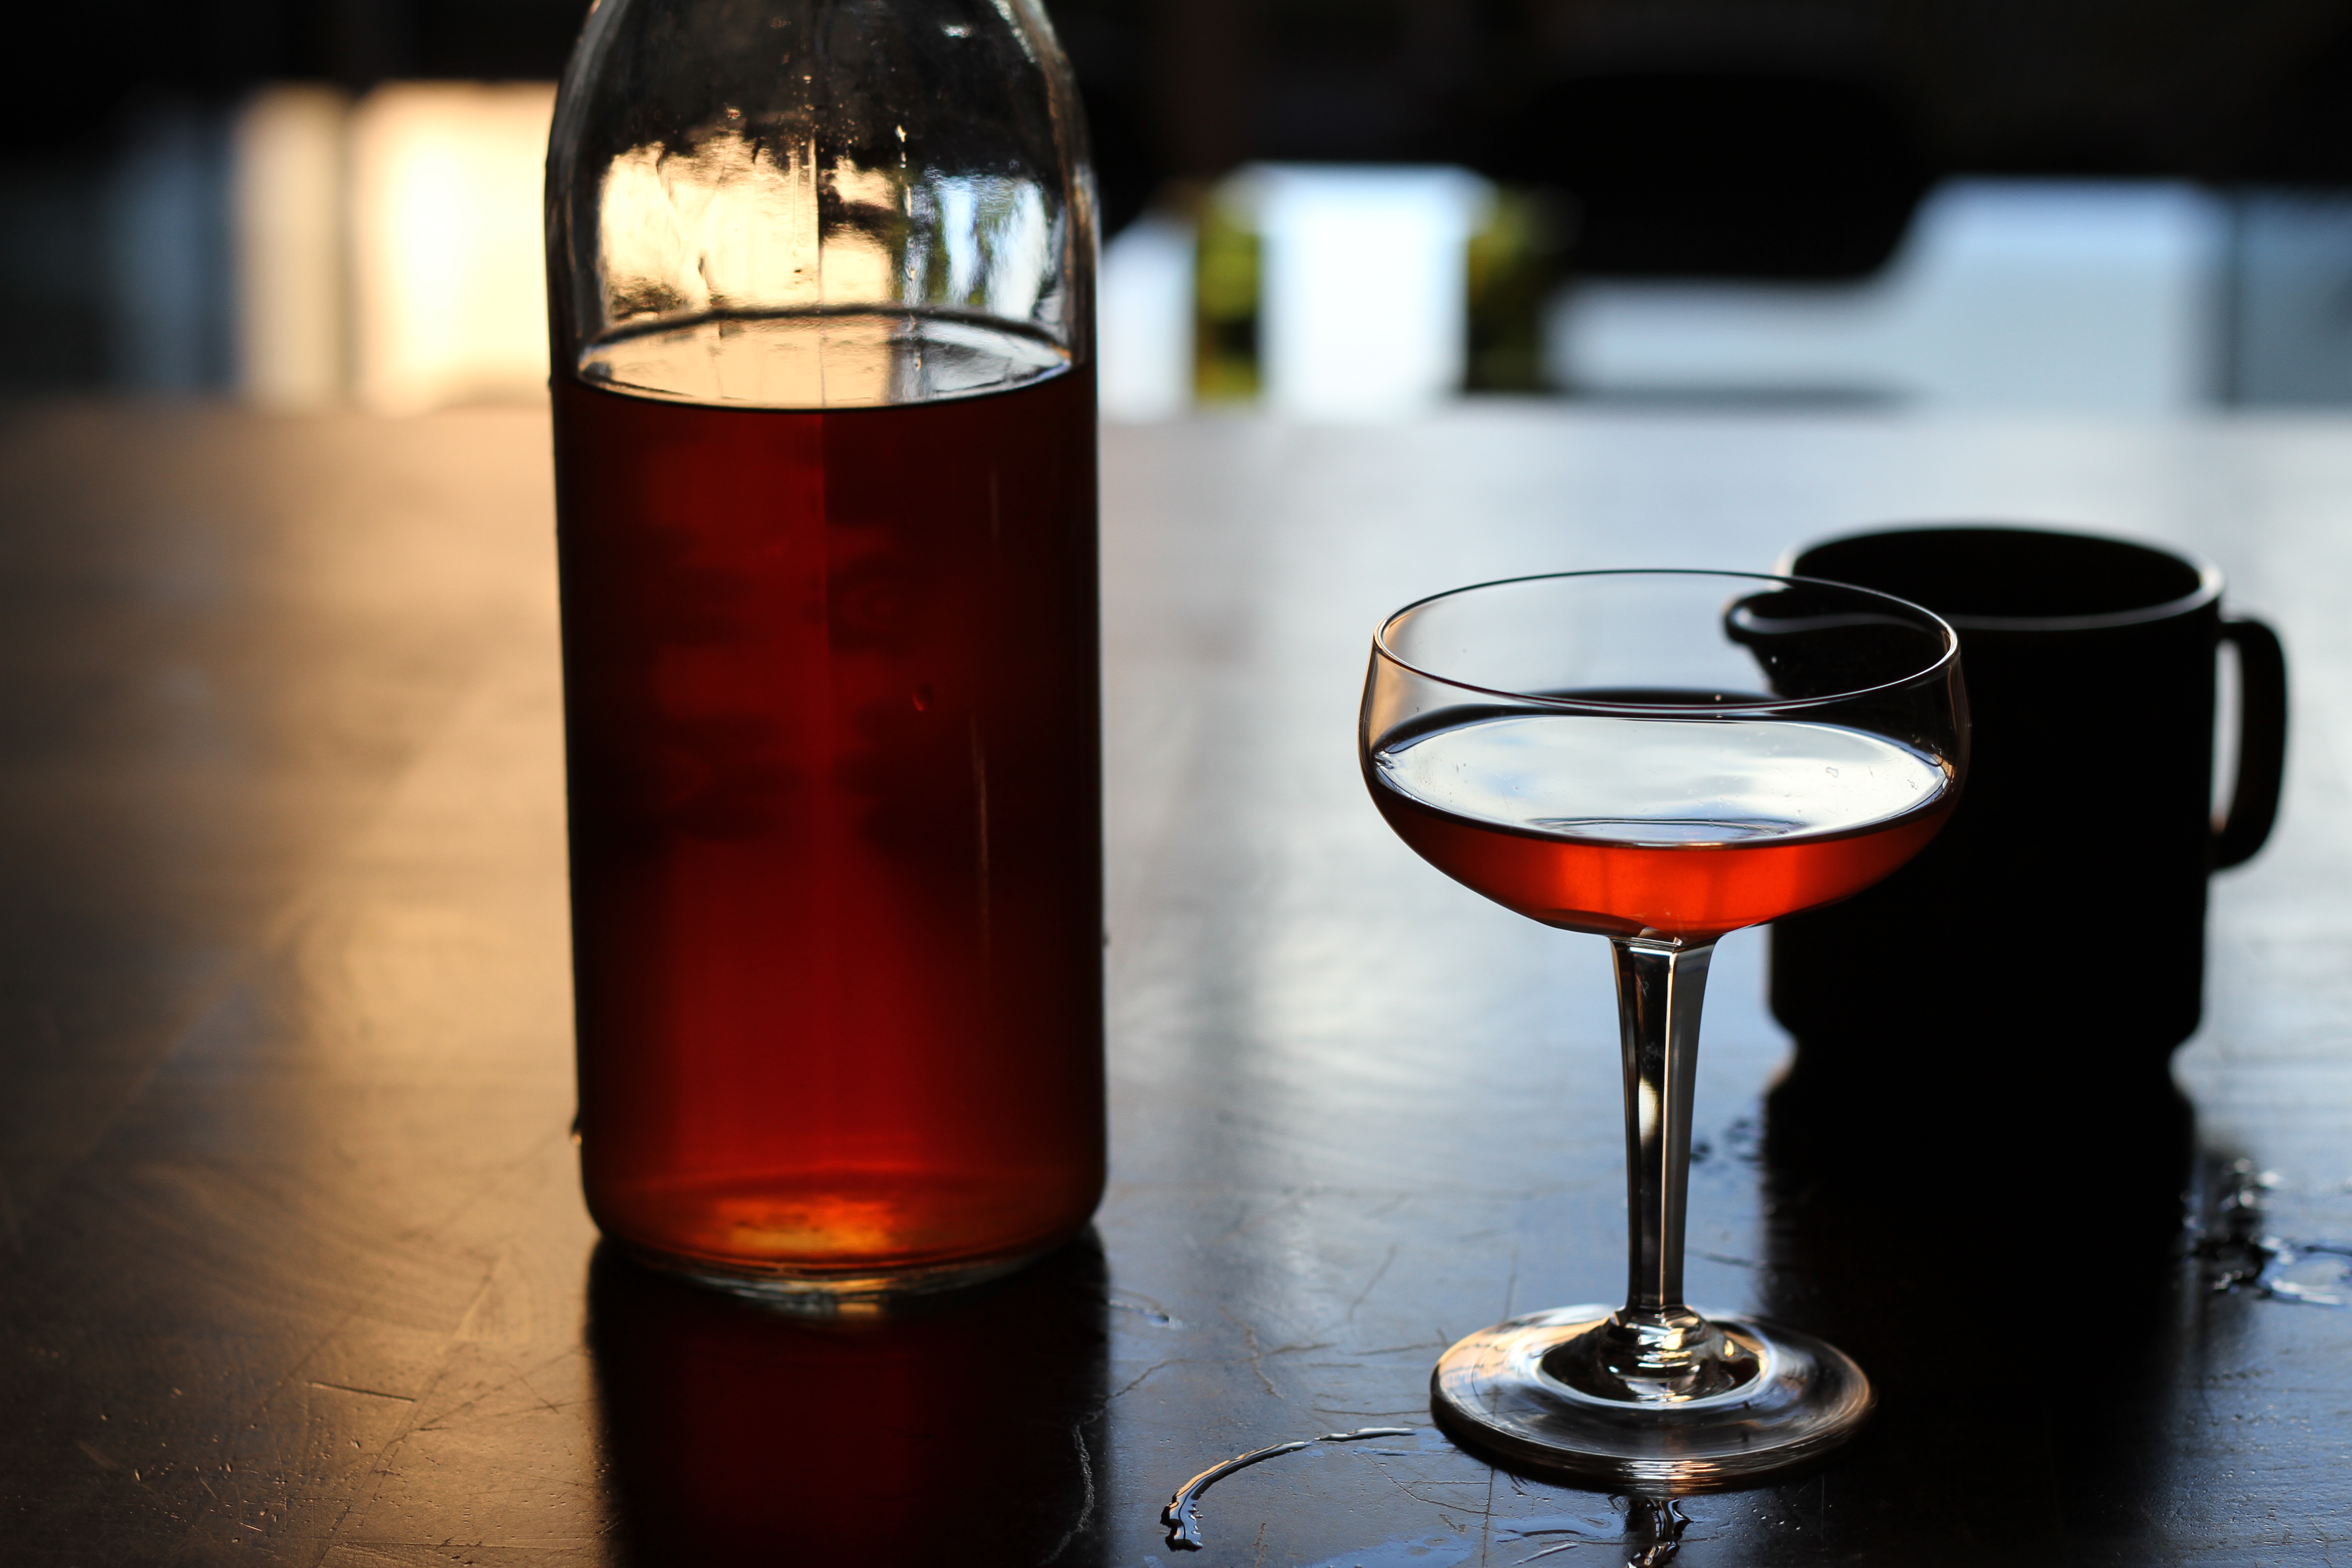
Penny from NZ happened to be in Brisbane for a few days, happened to have a spare evening, happened to want to spend it with us, and we happened to be free that night. With no time to plan, I literally stopped at the store on the way home from work to pick up a few vegetables. While we sipped wine and chatted, I constructed a quinoa and roasted vegetable salad which turned out to be pretty good. Since then I’ve made it several times, and it just keeps getting better. It’s best made with red quinoa, great eaten alone, and divine with cold roast chicken. It’s on the menu, again, for Saturday night.

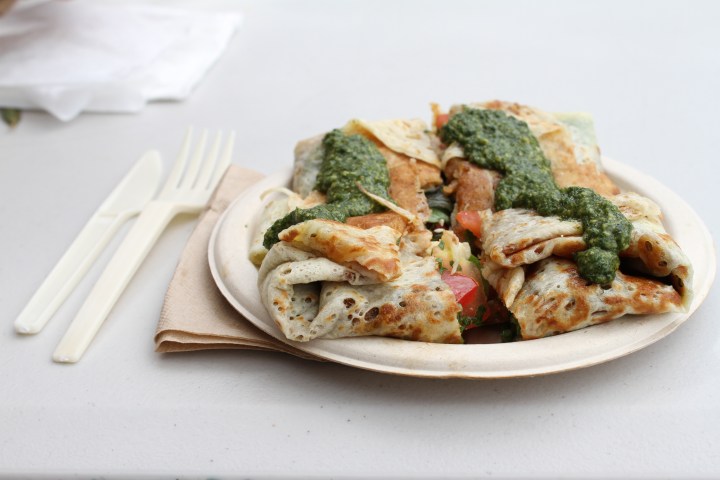
My new found love of quinoa has reminded me of all those other recipes that I tried once or twice, including Lucy’s Quinoa and Millet Pilaf, Heidi’s Quinoa Patties and her custardy Quinoa Cornbread, and Sophie’s Quinoa Pancakes. Maybe it’s time to give these a whirl again.

IMG_1954

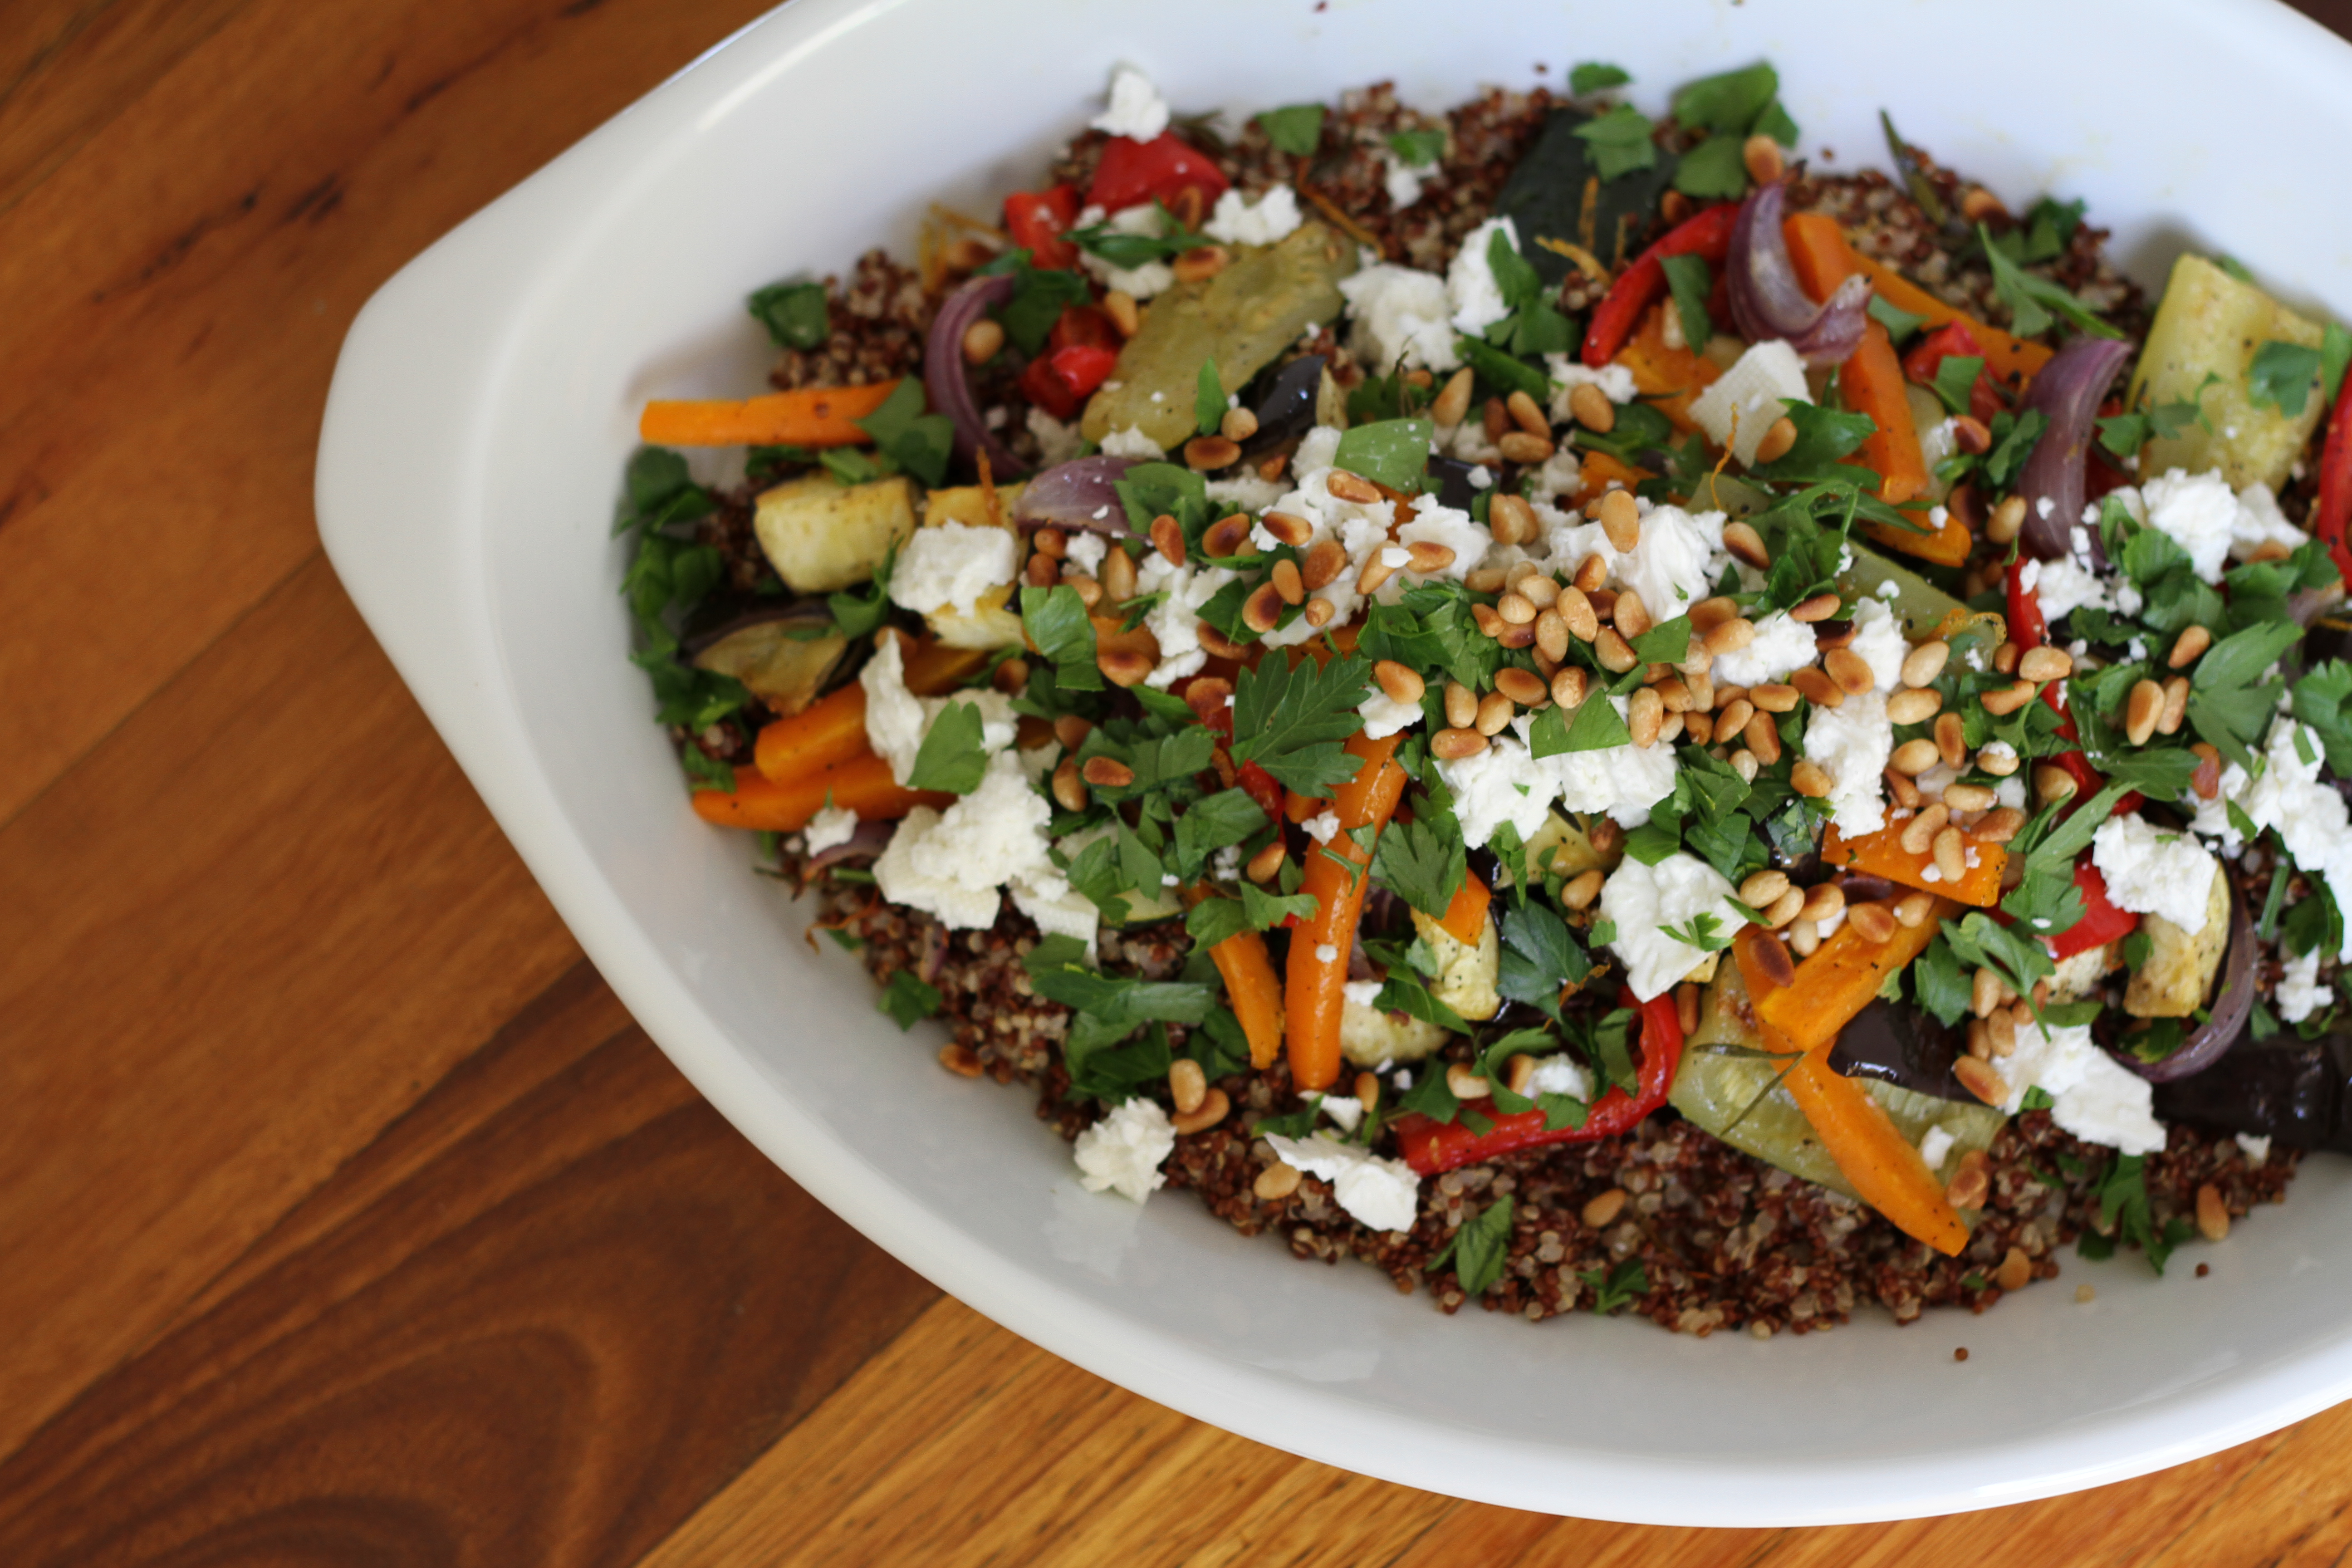
Roasted Vegetable and Quinoa Salad

  • Servings: 4 as a substantial side dish
  • Print

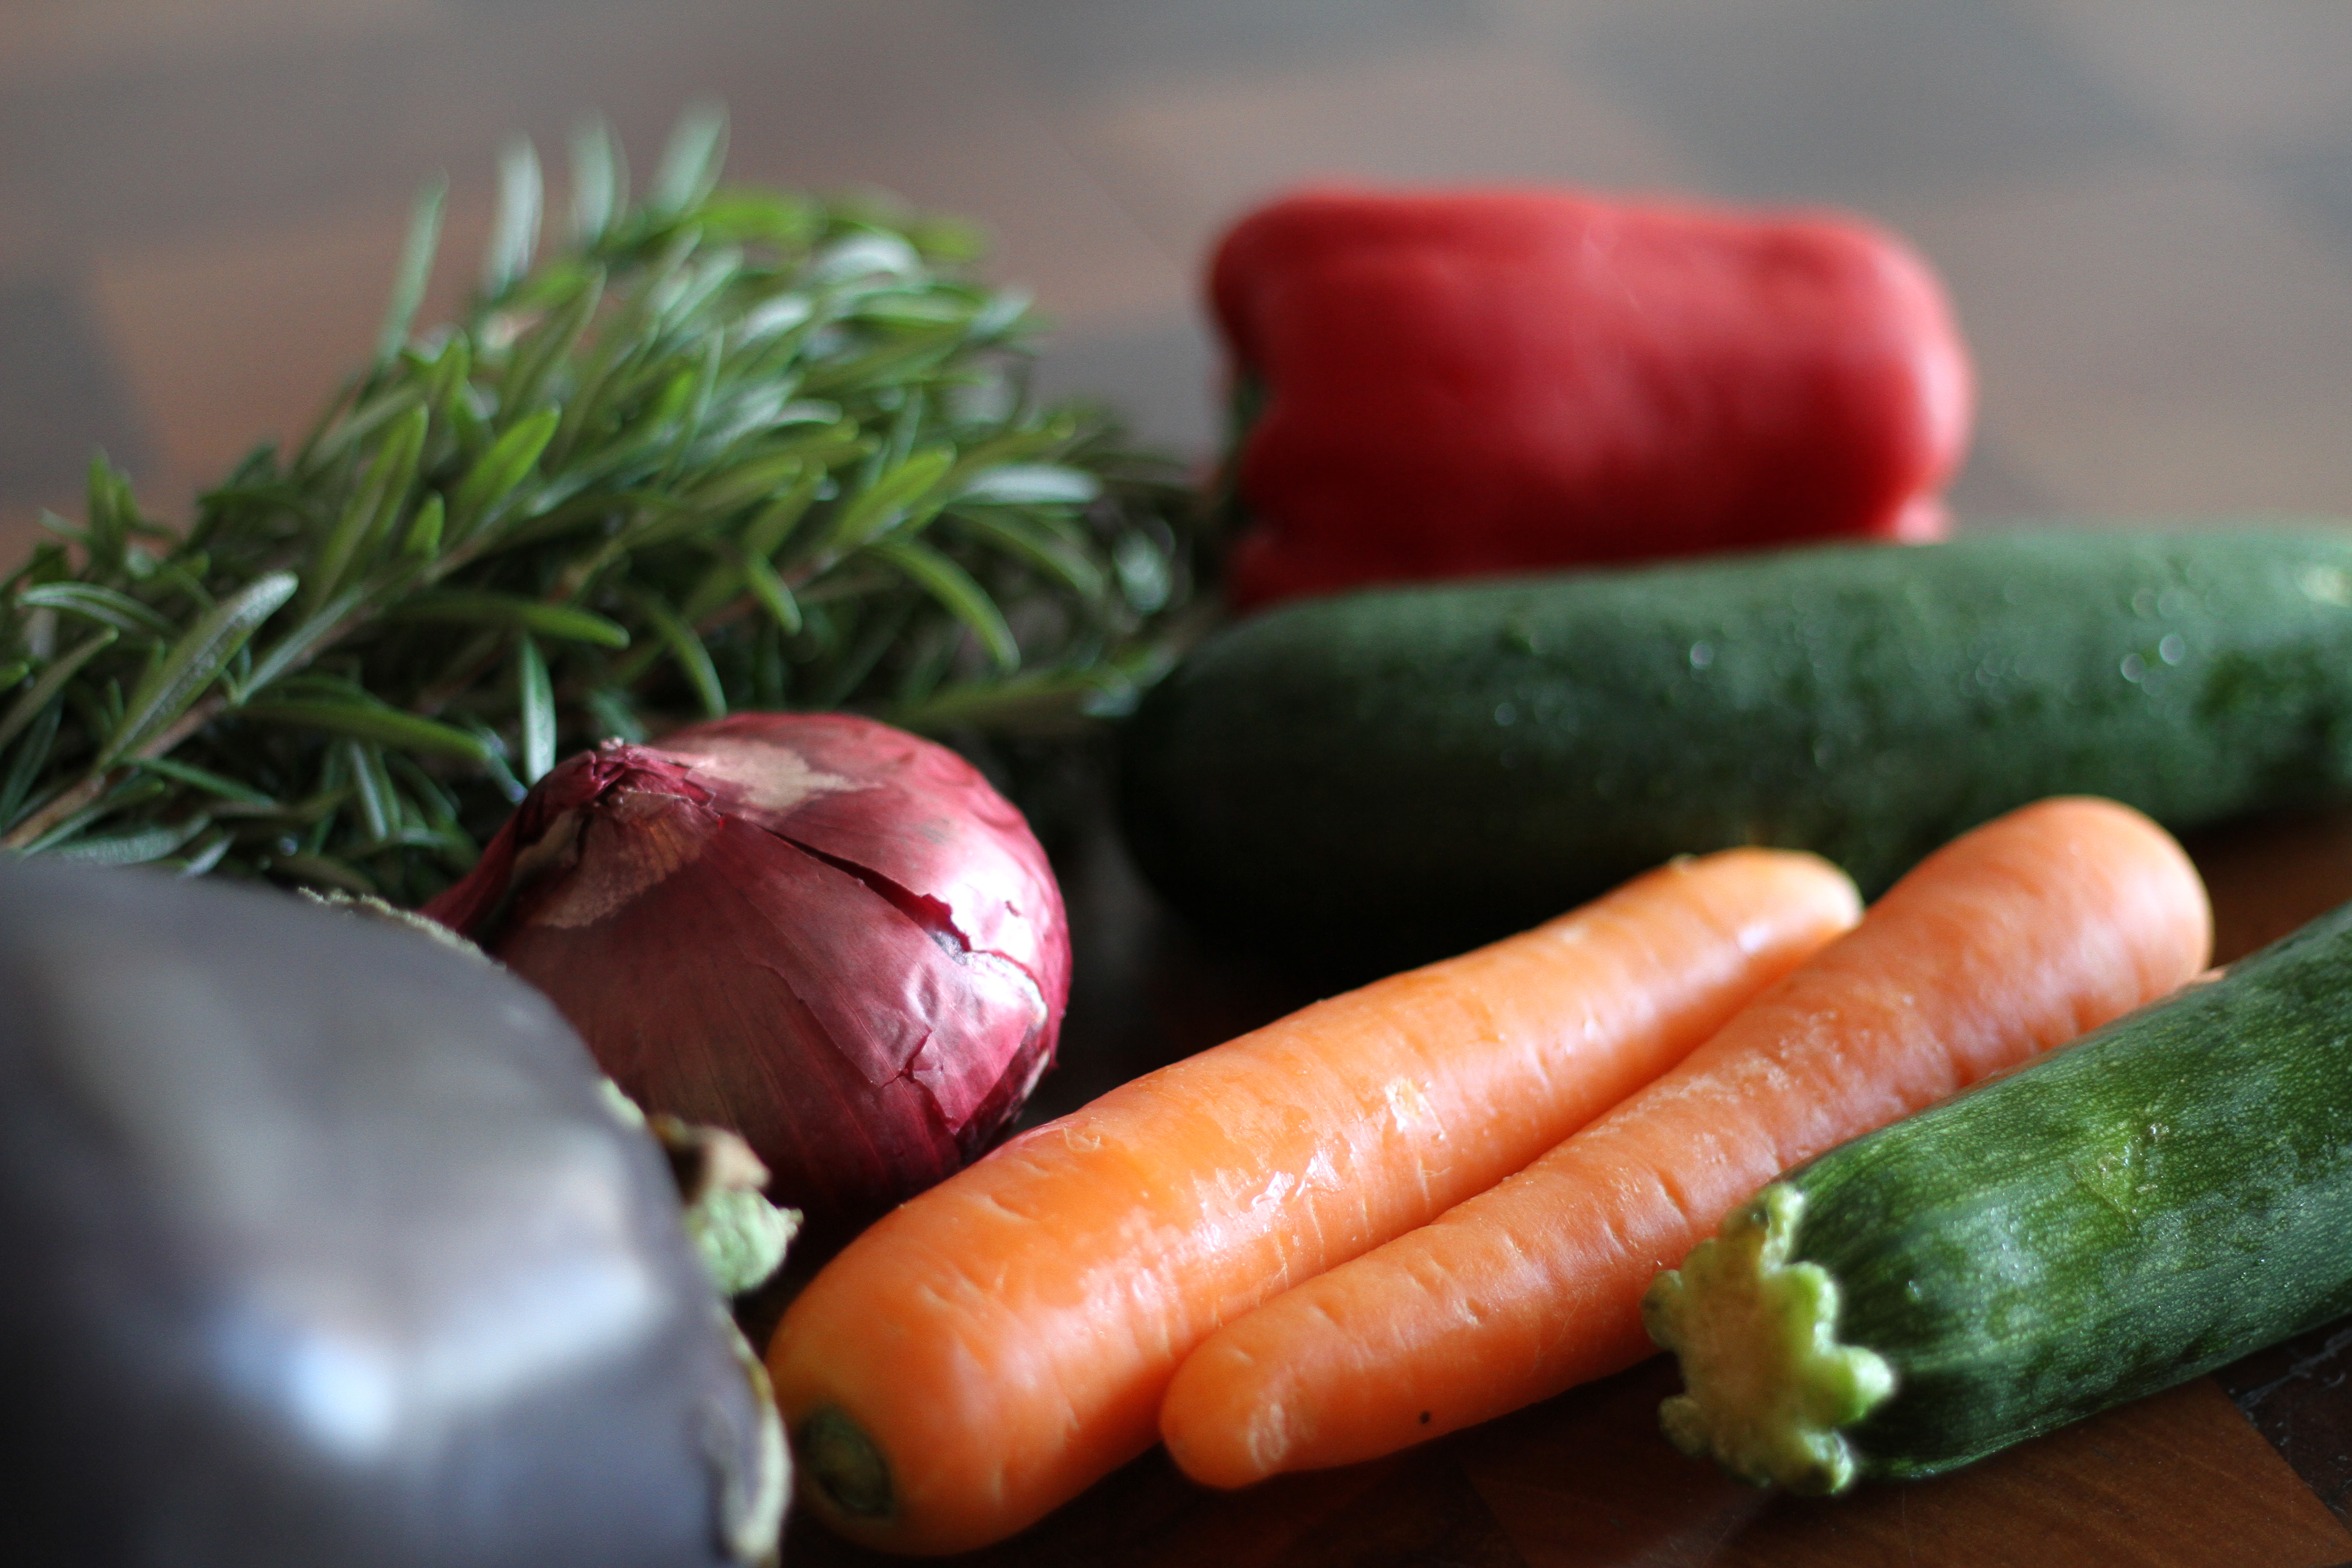
Selection of vegetables for roasting, such as half a medium eggplant, 2 small courgettes, 1 red capsicum, 2 carrots, 2 red onions
1 lemon, preferably organic
Fresh rosemary
Olive oil
1/2 cup quinoa (yellow, red or black)
1 cup water
1/4 cup pinenuts, toasted
Handful of parsley, coarsely chopped
100 grams feta (goat or cow’s milk), or more, to taste

First prepare the vegetables for roasting. Preheat the oven to 180 C. Cut the vegetables, as you like, into pieces that will roast evenly together in 20-30 minutes. For me this means dicing the softer vegetables (like eggplant, courgette and capsicum) into 2cm cubes, slicing the onion into 1cm wedges, and cutting the remaining hard vegetables (such as carrot) into thin batons.

Place all vegetables into a large bowl. Using a zester, remove strips of zest from the lemon and add to the bowl along with 1-2 tsp of rosemary leaves that have been removed from the stems. Pour over several Tbsp of olive oil, a healthy sprinkle of salt and freshly ground black pepper. Toss the vegetables with your hands until they are lightly slicked with oil. Tumble onto a baking tray, lined with paper if you wish, and roast until the vegetables begin to brown a little, about 20-30 minutes.

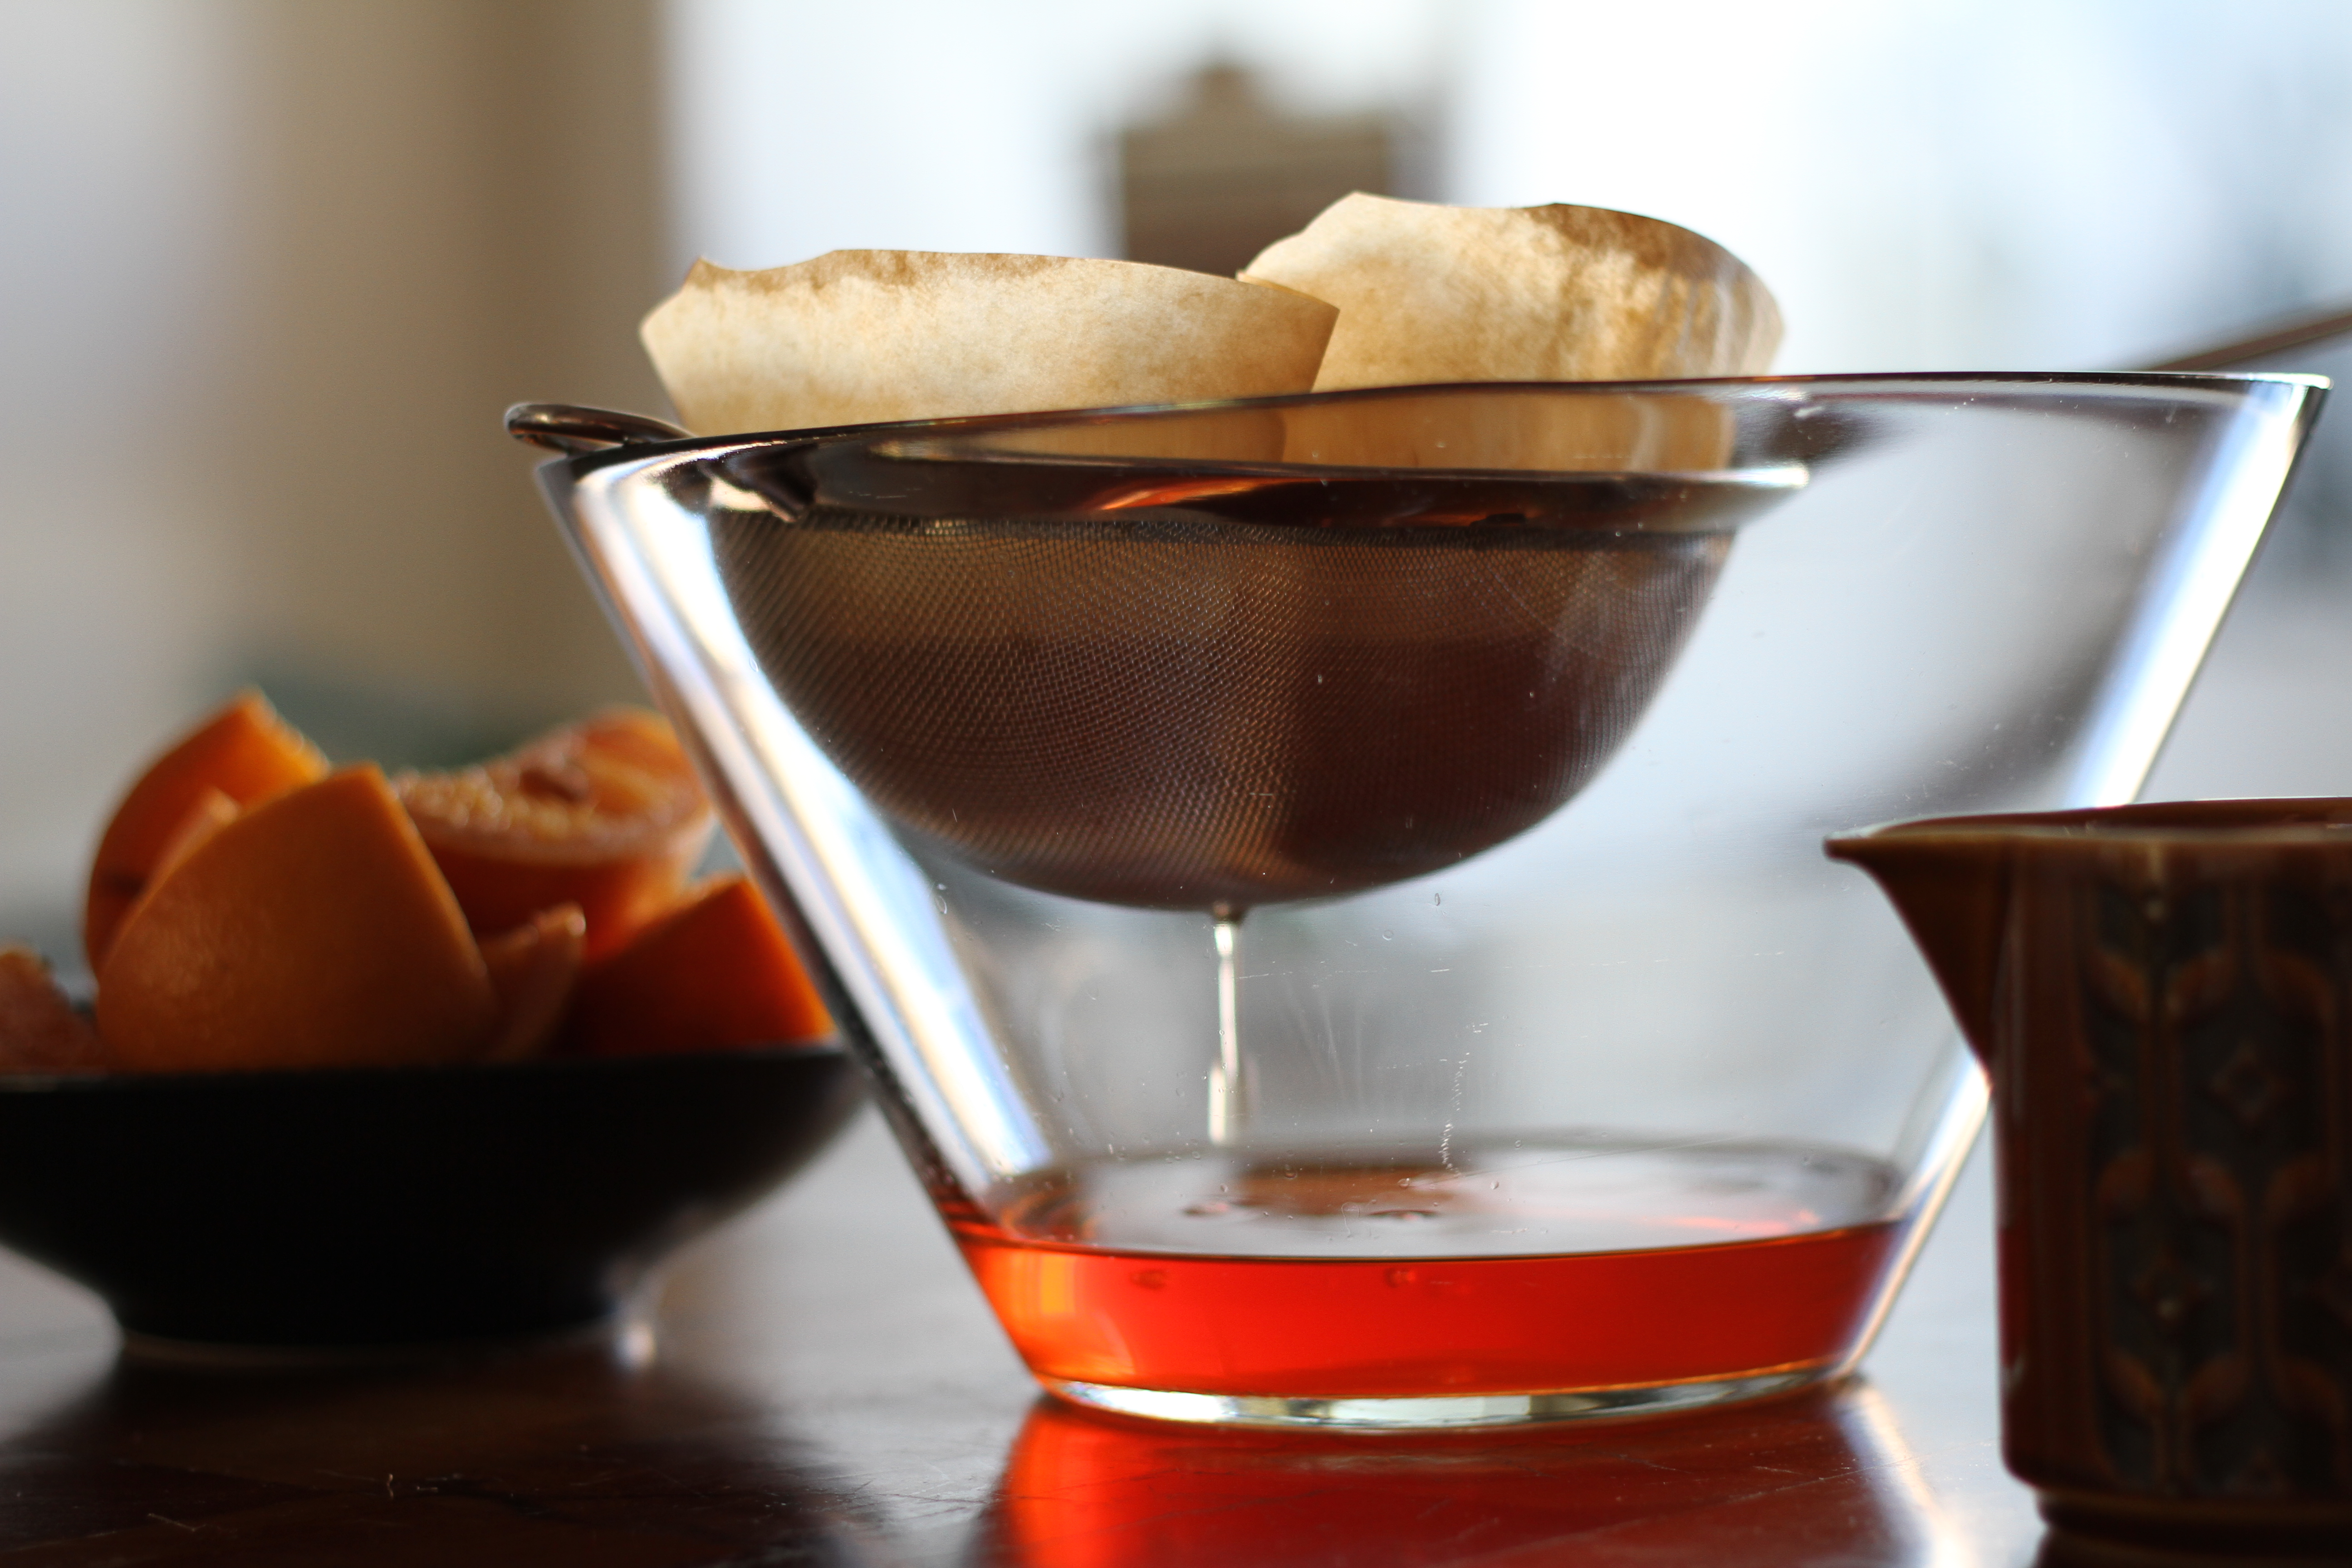
While the vegetables are cooking, prepare the quinoa. One of quinoa’s curiosities is that the seeds are coated with a natural chemical called saponin that prevents the seeds sprouting until they come into contact with water. The saponin has a bitter taste, and it is therefore best to wash quinoa thoroughly before you cook it. The easiest way to do this is to place the quinoa into a fine sieve and run water through the grains for several minutes. To save water, I usually place the sieve over a bowl filled with water and let the quinoa soak for a few minutes before doing a final rinse.

Cook the quinoa using your preferred method. Lately I simply microwave it, placing the quinoa, along with twice its volume of water and a pinch of salt, in a large glass bowl. Cover the bowl with plastic wrap, then microwave on high for ten minutes. Remove from the microwave and leave to sit for 5 minutes. The quinoa will absorb any remaining water.

To assemble the salad, tip the quinoa into a large serving bowl and spread the roasted vegetables over the top. Crumble over the feta, scatter the parsley and pine nuts, and finish with a final grind of black pepper.

IMG_1969

Filed under: Eat
comments 12

Vin d’ Orange + housekeeping

IMG_2199

There have been a few changes around here, a bit of out with the old, in with the new. First of all, I’ve changed the design theme of Chez Moi. My original design (Twenty Eleven) served me well for three years but it was getting a bit tired. The recently released Moka design is fresh and minimalist, and I love the way it looks. My content is now surrounded by white space, photos load in a larger size and consequently have more impact, and a range of optional features (such as the ability to style the first letter of your paragraphs – the drop cap feature) provide numerous customisation opportunities. I’m still in the process of adjusting older posts that didn’t transition cleanly and figuring out how I want everything to look, but the emerging result feels well worth the effort.

Other changes include a new page called Creating Home, which contains a collection of posts that engage in some way with meanings of home and place. A revised blogroll page (now called Reading) goes beyond a simple list of favourite blogs to explain why I love each one, and includes links to favourite posts. A refreshed About page has stripped out unnecessary detail, and I’ve also used the new recipe short code feature in WordPress to transform all recipes into a consistent format with a clean print function. Finally, I’ve changed my public profile username to Chez @ Chez Moi, getting a small kick out of the multiple play on words that results: chez (my real name) means “home” in French, but its more colloquial translation is “at”; chez moi is “my home”.

I’m getting that fresh, spring-clean feeling that comes with new beginnings, and as we all know, new beginnings should always be celebrated.  Fortuitously, I happened to make a batch of vin d’ orange this summer. Orange-infused wine is an aperitif commonly made in France with bitter Seville oranges which grow plentifully there. David Lebovitz’s recipe for vin d’ orange had been on my mind for months but Seville oranges only have a short season in Australia, around August, and even then are quite difficult to obtain. Fortunately David provides an alternative recipe that uses fresh organic oranges, rose wine, and a touch of cinnamon and vanilla.

It’s the easiest recipe ever – throw everything into a large jar and store in a cool dark place for two weeks, then strain, bottle and enjoy. I like mine in a champagne saucer with a splash of soda to provide a little celebratory fizz. Cheers!

IMG_2182

Vin d' Orange

  • Servings: It's up to you (no judgement)
  • Print
Adapted slightly from David Lebovitz Ready for Dessert

1/2 cup sugar
1/2 cup vodka
One bottle rose wine
1/2 vanilla bean, split lengthwise
1 cinnamon stick
3 oranges, preferably organic (I used Valencia)

In a large glass jar stir together the sugar, vodka and wine. Don’t bother to fully dissolve the sugar. Add the cinnamon stick and vanilla bean. Cut the oranges into quarters and add them to the jar. Screw on the lid and place in a cool, dark spot for two weeks, giving the jar a little shake now and then.

Once the two weeks are up, remove the oranges and spices and strain the liquid through cheesecloth or a fine strainer. I found that the liquid still looked rather murky after this, so I strained it again through coffee filters placed in a sieve set over a bowl. The slowness of the dripping drove me insane with anticipation, but the brilliantly clear orange liquid that resulted was worth the wait. Funnel the vin d’ orange into a clean bottle and store in the fridge, where David promises it will keep for six months (mine definitely won’t last that long).

This is delicious chilled and served in small glasses topped up with a dash of soda. Don’t forget that the fortification provided by the vodka raises the alcohol content of the wine considerably!

IMG_2172

IMG_2161

Filed under: Eat
comments 2

Road trip muffins + wedding anniversary

IMG_1991

Long road trips usually mean bad food.  More often than not your choice is between greasy burgers at fast food restaurants, dehydrated pies at rugged petrol stations, or if you’re lucky, overpriced and under-filled panini at the occasional cafe.  Nothing ever tastes good.  I was determined to avoid such calorific mediocrity during our 10-hour drive to the Hunter Valley for Christmas, so I made a batch of Heidi Swanson’s delicious millet muffins. 

My perfect road trip fare is both nutritious and delicious, filling but not heavy, able to be eaten without utensils, and creates no mess.  These muffins tick all my fussy boxes.  Millet is birdseed, it’s true, but it is a tasty and highly nutritious grain for humans too.  In this recipe the millet retains its crunch, providing a pleasing textual accent to every mouthful.  The only sweetener used is honey, which makes the muffins sweet in a delicate, non-sugary way.  They are tangy with yoghurt and lemon and, despite the use of 100% wholemeal flour, moist and surprisingly light.  We still stopped for coffee along the way and a pub lunch at Yamba, but these muffins and some crunchy apples kept us going for the whole trip.

IMG_1984

For all these reasons, I made millet muffins again for the road trip to celebrate our 17th (17!!) wedding anniversary, even though the two hour drive to Eumundi Markets barely qualified as a road trip.  We got up early in the morning, downed muffins smeared with plum jam, packed a few more to see us through the day, and hit the road by 7am.  

The last time I was at Eumundi Markets was about 15 years ago, and gosh has it changed.  What used to be a rustic jumble of stalls is now a large and bustling enterprise, with many stalls now housed in permanent buildings.  It still retains a great deal of charm though, and we happily spent over three hours roaming through the stalls of food, crafts and clothes.  Our breakfast of millet muffins (and a top-up muffin in the car) kept us going until lunchtime, when I devoured a buckwheat crepe filled with rocket, tomato and feta, generously topped with pesto and washed down with iced tea: a delicious blend of chai with a good hit of ginger.

IMG_2014
Eumundi Markets grid

After a little more wandering we headed south, stopping at The Ginger Factory in Yandina.  Although this is a fairly touristy attraction, we spent a pleasant hour rummaging in the gift shop, drinking coffee and strolling through the rainforest walk.  I became enamoured, not of the trees, but of their shadows on the ground.

IMG_2038
Yandina Shadows grid
IMG_2044
Further south we headed inland to Maleny, a favourite hinterland town of ours.  After a trawl through some of the local second-hand bookstores we headed to David Linton’s Furniture and Timber Works showroom.  Nearly two years ago on our first visit to Maleny we saw a beautiful wooden cheese board which has haunted us all this time.  We didn’t find anything like it unfortunately, but we did find a lovely small board made from camphor wood and a much larger chopping board fashioned from a beautiful, irregular piece of mango.  We hesitated for a while over the price tag but eventually settled on both pieces.  We’ll have them for the rest of our lives, we reason, and each time we use them we’ll be reminded of a perfect day and the happiest of celebrations.

Millet Muffins

  • Servings: makes 12-14 muffins
  • Print
Super Natural Every Day, by Heidi Swanson

2 1/4 cups wholemeal flour (Heidi specifies whole wheat pastry flour, but I can’t find this and find regular wholemeal flour to work fine)
1/3 cup raw millet
1 tsp baking powder
1 tsp baking soda
1/2 tsp salt
1 cup plain yoghurt
2 large eggs, lightly beaten
1/2 cup melted unsalted butter
1/2 cup runny honey
Grated zest and 2 Tbsp juice from 1 lemon

Preheat the oven to 200°C/390°F.  Butter a muffin tin, or line with muffin cups.  Whisk together the flour, millet, baking powder, baking soda and salt in a large bowl.  In another bowl place the yoghurt, eggs, melted butter, honey, lemon zest and juice and whisk together until smooth.  Pour the wet ingredients into the dry and stir together only until the flour is just incorporated, taking care not to over mix.  Spoon the batter into the muffin cases, filling to a little below the rim.  (Note that I find that the baking powder and soda start to work almost immediately, probably stimulated by the acidic lemon juice.  The mixture puffs up a little, which is why it sometimes makes 14 muffins rather than a standard 12.)  Place the muffin tin in the oven and bake for 15 minutes until the tops are browned and beginning to crack.

Filed under: Eat
comments 6

Up in the Air: Cairns

IMG_0556

We once lived for 12 years in a large, crumbling house on the semi-rural fringe of west Auckland.  The house was situated across the road from a large park, and on winter mornings we were occasionally awakened by the sound of rushing air in sudden, loud bursts.  For the longest time we didn’t know what was going on because the park was encompassed by a tall hedge of bamboo.  Finally, one morning we glimpsed a large hot air balloon floating in the pre-dawn light.  With the mystery solved, we became able to register the sound and quickly drift back into deep sleep (this was our sleepy 20s after all) but usually not before I murmured something about how I would love to go ballooning one day.

In July 2013 we spent a few days relaxing in Cairns, Far North Queensland. Colin organised the whole holiday, including a couple of surprise activities.  One night he informed me that we had to get up at 4am the next morning.  I suspected we were going fishing, and while I like a bit of fishing now and then, a 4am start seemed to predict an entire day of the kind of hardcore open-seas fishing that Colin loves.  I was further underwhelmed when he told me not to take my bikini as there would be no time for swimming or sunbathing.  Whatever…I packed the bikini anyway, along with a good novel and plenty of sunscreen, resolving to enjoy the day as much as I could.

After being picked up from the hotel at 4.30am we drove inland towards Mareeba (strange) and I finally figured it out when we passed a roadside billboard advertising ballooning.  Much to my excitement, we soon arrived at the launch site operated by Hot Air Australia.  It was still dark and three gigantic glowing orbs lit up the surrounding fields.  After a quick safety briefing we climbed in with 14 other passengers (ours was a huge balloon) and lifted off the ground.

Hot air ballooning grid

I knew that it would be quiet up in the air without a motor but I hadn’t expected it to be so perfectly still.  The balloon travels with the air current, so no matter how high or fast you go, you only feel the breeze on your face when the pilot changes direction, moving to a different air current.  The feeling was of being both weightless and suspended. We flew effortlessly high, over 2,500 feet, but it was all so magical and gentle that the height barely registered.

As we came into land we could see wallabies racing through the fields, and we flew so close over a house that we could have easily seen in the windows if the curtains had been open.  We felt a few small bumps as the balloon touched, lifted, touched and finally settled.  After a few final photos, we bundled back into the car, driving off to breakfast and coffee.

IMG_0622

While ballooning was the high point of the trip, we also spent a wonderful day out on the Great Barrier Reef (including a helicopter ride over the reef), another day driving through the Atherton Tablelands (buckwheat crepes for breakfast at the Kuranda Markets, divine dried banana dipped in dark chocolate at Coffee Works, and rustic lunch at Flynn’s in Yungaburra), and another day exploring Port Douglas and its surrounding villages.  All things considered, it was the perfect mid-winter break.

IMG_0513

The amazing Great Barrier Reef

IMG_0460

The view from our hotel room at dawn

IMG_0706

Breakfast crepes, Petit Cafe, Kuranda

IMG_0741

Beautiful beach, north of Cairns on the way to Port Douglas