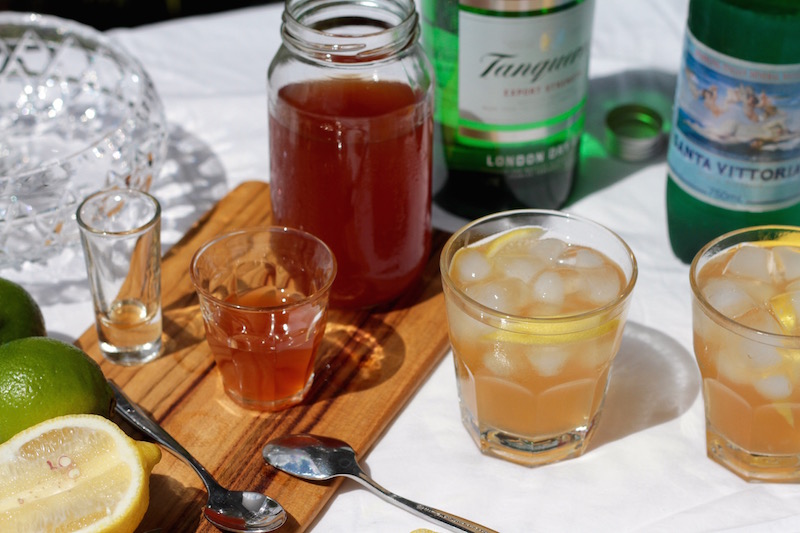
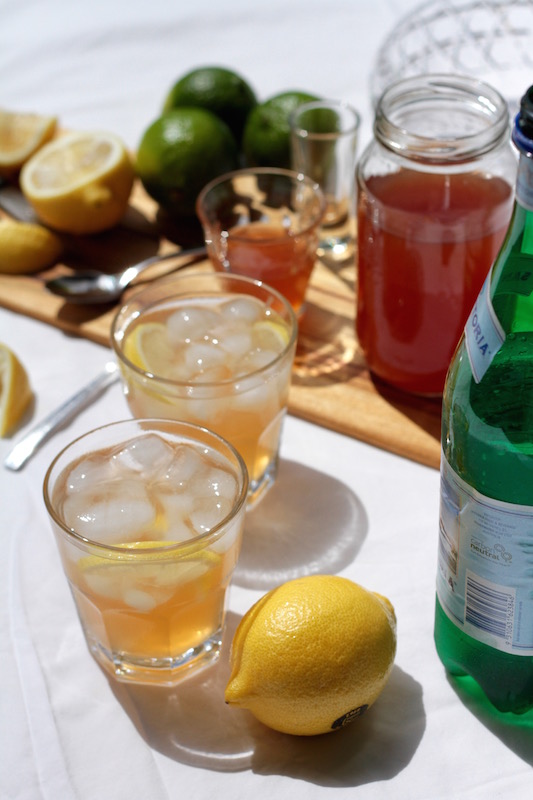
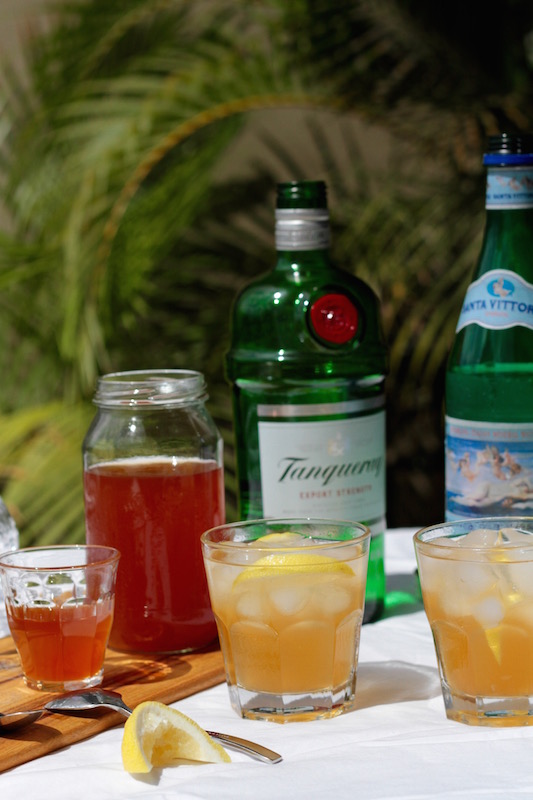
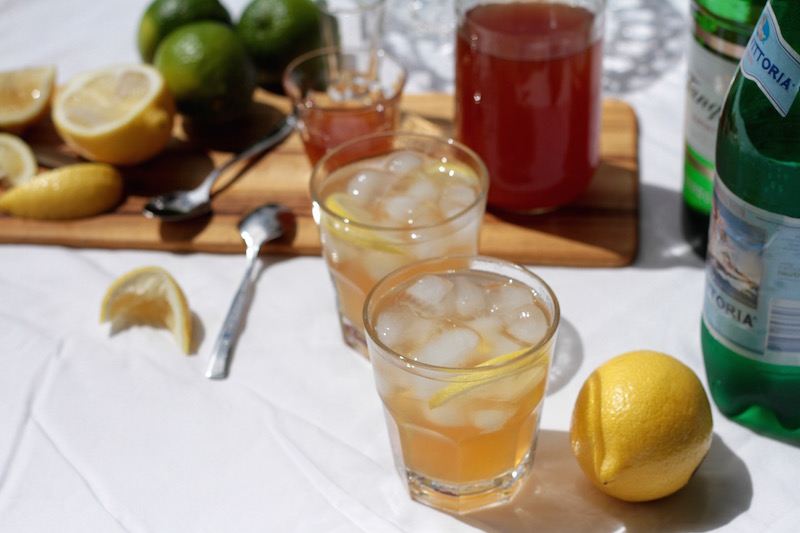
Gin & Tonic is the perfect summer cocktail. I like mine with plenty of ice, a good squeeze of lemon, and please, only homemade tonic syrup will do.
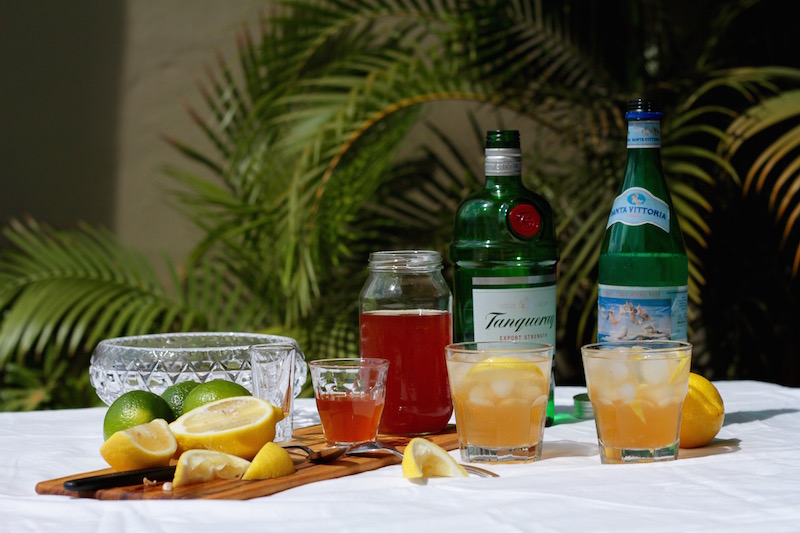
I’m not always such a snob (or maybe I am?) but now that I’ve made my own tonic syrup, good old Schweppes Indian Tonic Water just doesn’t rate. Schweppes served me well for years and years, but my newly sophisticated tastebuds find it overly sweet and one-dimensional, and its faint bluish tinge creeps me out (even though this is legitimate since quinine is highly sensitive to ultraviolet light). In contrast, homemade tonic syrup is soft and nuanced and coloured a deep rusty-orange. It’s delicious enough to drink on its own with soda, but when mixed with gin the complex botanicals intensify in flavour. In one sip you will taste lavender and lime, and in another, grapefruit and lemongrass. There is no return from this.
I first stumbled across the notion of homemade tonic syrup while reading the wonderful blog Lottie & Doof a few years ago. In a somewhat self-conscious post, Tim admitted that brewing his own tonic took him to a whole new level of kitchen geekiness. Fortunately, I have a soft spot for geeks, being one myself, and Gin & Tonic is my all time favourite cocktail. Tim’s post was dutifully bookmarked…then time went by and I forgot all about the recipe.
A few months ago I was at a market and spotted a stand selling bottles of small-batch tonic syrup. I bought some and it was as delicious as they promised – wonderfully soft and fragrant, with less sweetness than commercial tonic. However, it tasted very strongly of lime. I felt like I was drinking Lemon, Lime & Bitters not Gin & Tonic, and remembering Tim’s post, I resolved to finally try my hand at the recipe. Time’s have changed since Tim wrote about homemade tonic. Bars don’t employ bartenders anymore; it’s all about mixology and making your own syrups and bitters to use in unique, customised cocktails. Tim didn’t realise how cool he was back in 2012.
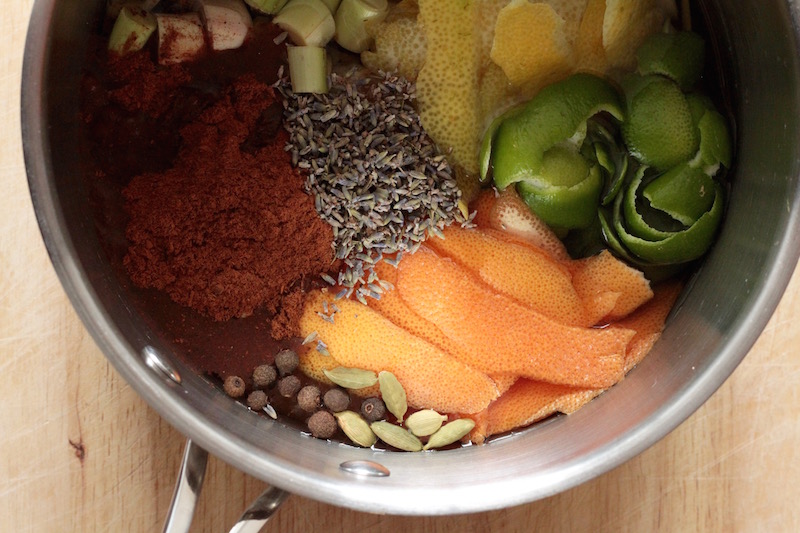
To make your own tonic syrup you first need to track down a supply of cinchona bark, which contains quinine and gives tonic its characteristically bitter flavour. It’s not easy to get hold of, but I ordered mine online from this Australian company which ships internationally. Once you have it, it’s a fairly simple matter of combining a range of botanicals with water, simmering it briefly, then leaving it to infuse for a couple of days before straining, letting it sit for another two days and finally mixing it with sugar syrup. OK, ok, so it will take you days to make this (four, to be exact), but I promise that it’s worth it. The recipe given below makes a large amount which is plenty for drinks all summer long and equally wonderful gifted in small bottles to friends.
The recipe below is my tweaked version of the original. I found my first batch to be a little sweet and the lavender a touch too dominant. In subsequent batches I have experimented with reducing the sugar and moderating the lavender with other spices, such as coriander seeds. The beauty of making your own tonic is that you can adjust it as you like. For my next batch, I plan on trialling a more wintery version, replacing the lime with orange zest and using coriander seeds, cinnamon sticks and black peppercorns in place of the lavender. A word of caution: quinine can be toxic in high doses so it is advisable to do your homework, treat the cinchona bark with respect and measure it carefully. The risk is heightened if the syrup isn’t strained properly and fine bits of bark remain in the liquid. To mitigate this, I use the whole bark (rather than buying a pre-milled powder) and take care to strain it thoroughly – full instructions are given in the recipe below.
Homemade Tonic Syrup
For the infusion:
4 cups water
1/4 cup cinchona bark (see below for instructions for grinding)
1/4 cup citric acid
3 limes, zest only
3 lemons, zest only
1 grapefruit, zest only
1 cup chopped lemongrass (3-4 stalks)
9 whole allspice berries, lightly crushed
6 whole cardamom pods, lightly crushed
1/4 tsp salt
1/2 to 1 Tbsp lavender (optional, or substitute 1 Tbsp coriander seeds)
For the simple syrup:
2-3 cups sugar
1-1.5 cups boiling water
To grind the cinchona, blitz it in a spice grinder just until it is broken into small pieces. Following this, sieve the bark to remove any fine particles before measuring out 1/4 cup and adding it to the pot.
Place all other ingredients for the infusion into a medium saucepan, cover with a lid and bring to the boil over medium-high heat. Reduce the heat to low and simmer for 30 minutes. Take the pan off the heat and leave to cool completely.
Once the infusion is cool, transfer the liquid and all of the solids to a large jar or jug. Cover and stash in the fridge to macerate for two days. Strain the liquid through several layers of fine cheesecloth set over a bowl to remove the solids. A little gentle squeezing is fine to help release the fluid from the solids. Pour the strained liquid back into the jar or carafe and place it back in the fridge for another two days. During this time a fine sediment may settle at the bottom. After two days, pour off the liquid at the top into a clean vessel, ensuring that none of the sediment escapes. If you wish, you can strain the liquid again through coffee filters, but provided that you didn’t grind the bark too finely to begin with, you shouldn’t need this extra step.
Measure the infusion so that you know how much rich simple syrup you need to make. You should have around 2.5 to 3 cups of infusion. Both Tim and Tony advise adding an equal amount of rich simple syrup, but I find this too sweet for my taste. The last time I made it I had 2.75 cups of liquid and I combined this with 2.25 cups of rich simple syrup and the sweetness was just right for me. It doesn’t hurt to try the smaller amount of simple syrup as you can always add more later.
Making the simple syrup takes a little guess work. The ratio is two parts sugar to one part boiling water, stirred to dissolve the sugar, but the actual quantities you need will depend on how much infusion you end up with. Start with the smaller amounts of sugar and water provided in the ingredient list above and make more simple syrup if you need it. This is less tedious than you might think.
Store your tonic syrup in the fridge where it should keep well for at least six weeks, if not more. To make a Gin & Tonic, measure equal quantities of gin and tonic syrup into a glass filled with ice. Add a squeeze of lemon and top up with soda water or sparkling mineral water. Taste the drink and adjust the proportions if required.

Pingback: Christmas Recipes…Naga Vodka Bloody Mary…Drinks anyone? | Retired? No one told me!
Pingback: Christmas Recipes…Drink anyone??? | Retired? No one told me!
I made mine and its a little bubbly , is it normal?
Hi Pauld no that doesn’t sound right. Did you store it in the fridge to macerate and keep it in the fridge after straining it? It sounds like yours might have fermented a little, which (due to the sugar content) could happen if you let it warm up too much.
Your recipes are really interesting. I like things that are a bit out there. Thanks.
Thank you! To return the compliment, your blog is also “a bit out there” because of your incredible travelling life. Thanks for hunting down that elusive wifi to share your wonderful stories on the road.
Gin and tonic is my favorite beverage and as a(n) herb enthusiast I happen to have cinchona bark on hand. I will be trying this!
You must! I promise that you’ll love it, in fact, it will be hard to go back to regular tonic after you start making your own. Let me know what you think!
I like the idea of it being less sweet, not to mention my penchant for making my own. I am anxious to try it!
Do be careful with straining the liquid. Part of the last batch I made sat at the back of my fridge (forgotten) for about six months. After all that time sitting undisturbed there was a layer of sediment in the bottom. I was surprised because I put a lot of effort into straining (removing the fine particles at the very start and then straining twice through cheese cloth and again through coffee filters). I’ve never experienced any problems but I think it’s important to be careful. Next time I’m going to try breaking up the bark in my mortar and pestle, avoiding the spice grinder altogether. There is a link embedded in the post about the dangers of cinchona, so just review that before you begin. Happy experimenting!
Will do. Thanks!
Pingback: Look back, leap forward | Chez Moi
I can’t wait to try this! It has got to be better than bottled tonic! By the way, my mother has a “chez moi” sign at her front door of her house. No one can pronounce it or understand it, which makes her really happy!
I’m always explaining my name too! At the very least, it’s a great conversation starter. Let me know how you go with the tonic – I think it’s life-changing!
Still enjoying my first attempt, thanks to your encouragement. I used oranges as well as lemons lime and grapefruit, but think I shall hold back on them next time as they imparted more sweetness. Like the idea of separating the fine bark powder at the start … less sieving at the end. I am also keen to try the unboiled infusion.
As ever, a great post Chez. But not so long between drinks (ok, posts) next time.
That’s interesting about the oranges – although I suppose that you could use less sugar syrup if the infusion itself was sweeter. It’s all trial and error! Thanks again for passing on the article about cinchona bark Michele…and yes, I am trying to get my posting rhythm back! It’s not for lack of ideas, just time and energy to put them together.
I had no idea you could make this yourself – according to me a good G&T is one of the best things in the world. I really need to try this!
There is nothing like a good G&T…and with homemade tonic it becomes a great G&T! No exaggeration 🙂
I love that you’re experimenting with the flavors in your tonic! Sounds so delicious!
It’s hard to go wrong, providing that you stick with flavours that are complementary. It’s definitely fun playing around with the recipe!
Thank you for posting this recipe – it looks great, and I will definitely try it sometime. Your blog is lovely – best of luck on all your worldly adventures!
Thank you Luna. All the very best with your 52 cocktails project – such a great idea!
I love a good gin & tonic but have never thought of making my own tonic. I’ll have to give this recipe a try!
It’s a lot of fun, and there are so many different flavour combinations that you can try – you are only limited by your imagination. A blogger I was conversing with yesterday said that her favourite recipe includes grapefruit, cardamom, cinnamon, vanilla, ginger and lemongrass…which sounds amazing! She’s promised to share her recipe – I’ll send you the link if she does 🙂
That does sound amazing – please do!
Here it is – scroll down the page to the recipe for Springtime Tonic https://fifthandvermouth.co/recipes/
Pingback: Elevate your Gin & Tonic (Homemade Tonic Syrup) – Chef Ceaser
You are a rock star! Kudos for a homemade tonic syrup. I’m impressed….and jealous! 🍓
Thank you, you are too kind! It’s simple really 🙂
Finding the ingredients would be a challenge for me. I like the idea of a homemade version, though. 🍓
The risk of toxicity from the quinine has always kept me from making my own, but I have to say that hearing the proper way to mitigate that issue makes me want to try my hand at this.
I’m not a food scientist by any means so I have to caution that this is simply the method I’ve developed after reading about it online. I’m happy with the result but I’m still cautious and limit myself to a maximum of three G&T’s at once – but that’s probably healthy in other ways too! Let me know what you think if you do try it.